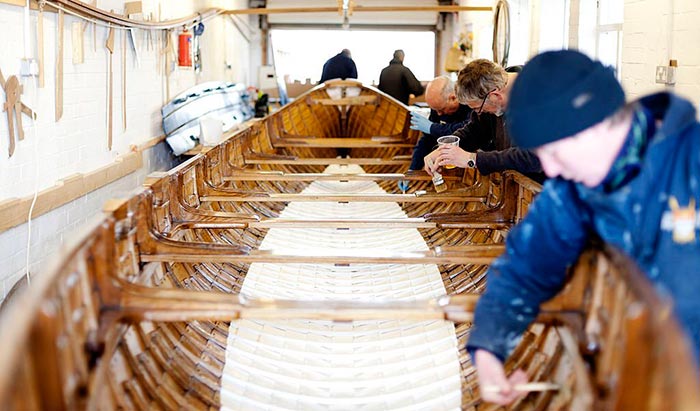
 Protecting your boat from the harsh elements, including water, UV rays, and humidity, is important for keeping it in good condition. One way to do this is by waterproofing the wood. There are a few different ways to complete this task without a sweat.
In this article, we’ll look at the easy steps of waterproofing wood. So whether you’re just getting started with boat building or you want to keep your vessel in top condition, read on for all you need to know about waterproofing wood!
How to waterproof wood for your boat
Step 1: Prepare all the materials
Since our main purpose for waterproofing wooden parts of a boat is to shield them against harsh marine conditions, it is essential that we choose compatible products.
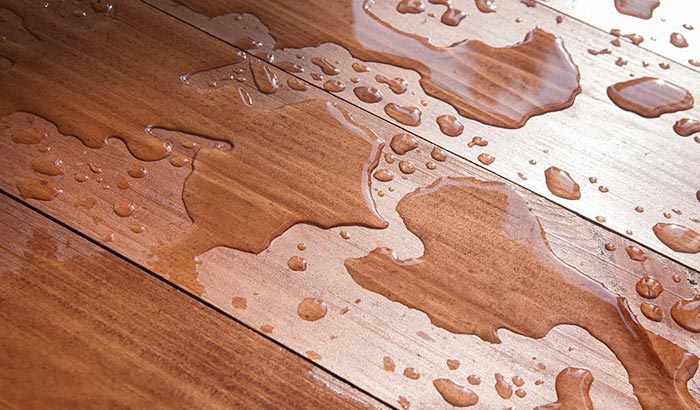
One of the most important aspects of waterproofing wood is choosing the right sealant. It is best to pick a durable marine-grade wood epoxy for application. Furthermore, make sure you pay attention to the type of wood you’re using and the conditions it will be exposed to.
Here’s the list of tools and materials you need for this task:
- Marine-grade epoxy
- A paintbrush/foam brush
- Low-grit (80 – 100) sandpapers
- Soap
- Clean water
- Clean cloth and a brush
- Power washer
- Paint (optional)
Step 2: Prepare the wooden surfaces
Also, it is recommended to use sandpaper to smoothen the rough parts and remove any old and faded finish on your boat. Make sure you go through all the wood areas to get rid of all the stray bits.
Step 3: Thoroughly clean your boat
It is always recommended to clean the boat before applying or replacing anything, as adhesive requires cleanliness to stick for a long time.
For a good cleaning, mix soap with water and make a soapy cleaning solution. Then, bring out the clean cloth and a brush to scrape off all the dirt and grime on your boat.
Then, use a power washer to rinse your boat and at the time blasting off any dirt on the wooden surfaces.
Make sure you let the boat dry before sealant application.
Step 4: Seal boat wood with the sealant
Once you’ve selected a sealant, it’s time to apply it to your wood. This process will vary depending on the type of sealant you’re using, so be sure to follow the manufacturer’s instructions carefully.
In general, you’ll want to apply the sealant to all surfaces of the wood, including the sides, top, and bottom.
- For best results, apply the sealant in a thin and even coat using the paintbrush or foam brush.
- You should allow it to dry and cure completely, which takes about 5-12 hours, depending on the product.
- Then, apply another layer of sealant, make sure to get all the corners and edges. And let it cure for up to 24 hours. You can always apply one or two more thin layers if desired. It might take a whole week for you to complete waterproofing your boat.
Step 5: (optional) Paint the boat
After the sealant layers are cured, you can apply marine-grade paint to protect and improve the look of your boat. Most of the time, people pick oil-based paint since the wooden materials can flex when the weather changes.
This is the fun part since you can pick a nice color with a good shine that gives the boat a nice appearance.
Conclusion
Waterproofing wood is an important part of boatbuilding and maintaining wooden boats. There can be a variety of sealants used to waterproof wood, and the best one should shield your boat from harsh conditions and be compatible with the materials.
Furthermore, you can always add a new paint color for your boat afterward, giving us an aesthetic appearance instead of the old chippy one. Make sure to pay careful attention to detail when applying the sealant and do regular maintenance to ensure optimal results.