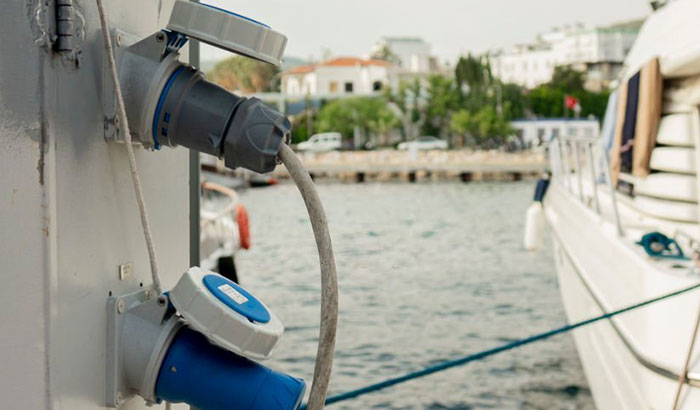
There are a few different ways to do the testing, and each one has its benefits. In this blog post, we will look at different ways to test marine batteries. We will also provide tips for keeping your marine batteries in good condition.
In general, here’re what you need to do to test your marine battery:
- Make sure the battery is fully charged
- Use a voltmeter to check the voltage of the battery
- Conduct a load test
- Check for any corrosion or damage on the battery terminals
- Use a hydrometer to test the specific gravity of the battery acid
How to Test your Marine Battery
Step 1: Make sure the Battery is Fully Charged
The first thing you need to do is make sure that your battery is fully charged. You can do this by checking the voltage with a voltmeter.
With your 12-volt marine battery, the measured voltage between terminals should be 12.6 volts to 13.2 volts if it is fully charged.
Step 2: Conduct a Load Test
Once you have checked the voltage of the battery, you will need to conduct a load test. This test will tell you how much current the battery can provide. You will need a load tester and a multimeter for this procedure.
- First, you will need to connect the load tester to the battery terminals
- Then, you will need to turn on the load tester and let it run for about 15 minutes
- After the 15 minutes is up, you will need to recheck the voltage of the battery with the voltmeter
The voltage should not drop below 10.5 volts during the test. If it does, then the battery cannot provide enough current, and it needs to be replaced.
Step 3: Check for any Corrosion or Damage on the Battery Terminals
After conducting a load test, you will need to check for any corrosion or damage on the battery terminals.
You will need to disconnect the negative terminal first and then the positive terminal to do this.
Once the terminals are disconnected, you will need to clean them with a wire brush. If there is any corrosion on the terminals, you will need to clean it off with a vinegar solution.
Step 4: Use a Hydrometer to Test the Specific Gravity of the Battery Acid
The last thing you need to do is use a hydrometer to test the specific gravity of the battery acid.
This test will tell you how strong the electrolyte solution is in the battery.
- To use a hydrometer, you will need to remove a cell cap from the battery and insert the hydrometer into the cell
- Then, you will need to take a reading and compare it to the chart that came with the hydrometer
- If the reading is below 1.265, the battery needs to be recharged
Tips for Keeping your Marine Batteries in Good Condition
Keep your Marine BatteriesClean
One of the best ways to keep your marine batteries in good condition is to clean them. It would help if you cleaned the terminals and the outside of the battery regularly with a damp cloth.
Store your Marine Batteries in a Cool, Dry place:
Storing marine batteries in a cool, dry place will help prolong their life and prevent them from corroding.
Check the Electrolyte Level Regularly
You should also check the electrolyte level regularly and add water if it gets low. You can do this by removing the cell caps and checking the level with a hydrometer.
Charge your Batteries Regularly
It is also important to charge your batteries regularly. This step will help keep them in good condition and prevent them from sulfating.
Inspect your Batteries Regularly
Finally, you should regularly inspect your batteries for any damage or corrosion signs. If you find any, you should clean them and then have them checked by a professional
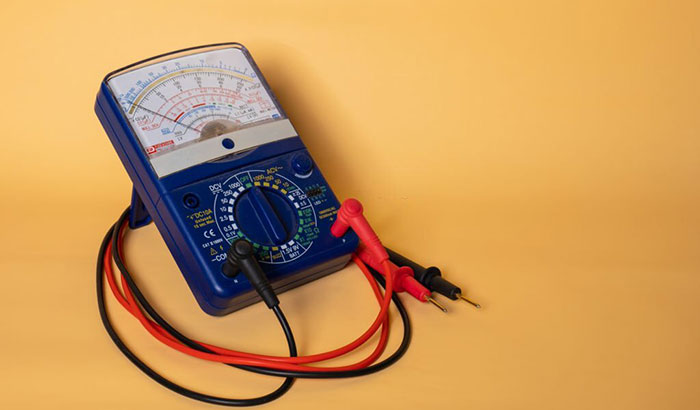
How to test Marine Battery with a Multimeter
Like most boaters, you rely on your marine battery to start your engine and power all of your onboard electronics.
But how do you know if your battery is indeed in good condition? The best way to test a marine battery is with a multimeter.
With a multimeter, you can test the battery’s voltage, current draw, and overall capacity. By testing all of these factors, you can get a good idea of how well your battery is performing and whether or not it needs to be replaced.
Here’s how to test a marine battery with a multimeter:
Set the Multimeter to the “DC Voltage” setting
- Connect the positive lead of the multimeter to the battery’s positive terminal
- Connect the negative lead of the multimeter to the battery’s negative terminal
- Take a reading from the multimeter. This will be the battery’s voltage
- If the voltage is below 12 volts, the battery needs to be replaced
Set the Multimeter to the “DC Current” Setting
- Connect the positive lead of the multimeter to the battery’s positive terminal
- Connect the negative lead of the multimeter to one of the load terminals on the battery (usually labeled “L1” or “L2”). Do not connect it to the negative terminal of the battery
- Take a reading from the multimeter. This will be the battery’s current draw
- If the current draw is more than 10 amps, then the battery needs to be replaced
Set the Multimeter to the “Capacity” Setting
- Connect the positive lead of the multimeter to the battery’s positive terminal
- Connect the negative lead of the multimeter to one of the load terminals on the battery (usually labeled “L1” or “L2”). Do not connect it to the negative terminal of the battery
- Take a reading from the multimeter. It will be the battery’s capacity in amp-hours (Ah). If the capacity is less than 20 Ah, the battery needs to be replaced
Conclusion
In conclusion, testing your marine battery with a multimeter is the best way to ensure that it is in good condition. By testing the voltage, current draw, and capacity, you can get a good idea of how well your battery is performing and whether or not it needs to be replaced.
By keeping your marine battery in good condition, you can ensure that your boat will always be ready to go when you are.

