 After a while, your boat floor might no longer have the nice look or sturdy feel of a new piece anymore. Or worse, its deterioration is happening so fast that it feels spongy and unsafe under your feet. You might also be looking to make your boat more comfortable or increase its resale value; replacing your boat floor can sound daunting for beginners.
Fortunately, it will not be too much trouble with the right instructions and tools. In this guide, we’ll show you how to replace your boat flooring step by step.
What you need to Prepare when Replacing your Boat Floor
Before getting started, you’ll need to gather a few supplies. First, you’ll need to purchase new flooring material. You can find suitable flooring plywood boards and mats at most boating or hardware stores.
You’ll also need some tools to remove the old flooring and install the new one. these include:
- A utility knife/scraper
- A measuring tape and a marker
- A circular saw
- A vacuum, soap, and cloth for cleaning
- Sandpaper
- Plywood boards
- Fiberglass mat and resin
- Adhesive and nails/ screws
Make sure you measure your boat’s floor before purchasing mat and boards for replacement. It is to make sure you do not have to go get more materials or leave too many extra pieces.
A Step-by-Step Guide to Replacing your Boat Floor

Step 1: Check the Transom and Remove Everything
First of all, you need to check the transmon by standing on it and jumping a little to see if the piece’s still stable. If it feels soft and too flexible, there might be the presence of rots or deterioration in the transom. As that is the case, you might need to fix it before replacing the flooring.
However, if it feels fine or you just restored it recently, continue to remove everything on the boat to start peeling off the old flooring.
Step 2: Remove the Old Flooring
Remove the Old Carpet
If the carpet is not glued to the floor, you can simply pull it up, fold it, and keep the piece out of the boat like everything else. Besides, vinyl flooring can usually be pulled up relatively easily as well.
If the piece is already glued down, you can use a heat gun to loosen the adhesive. Then, use a putty knife or scraper to loosen it before pulling it up.
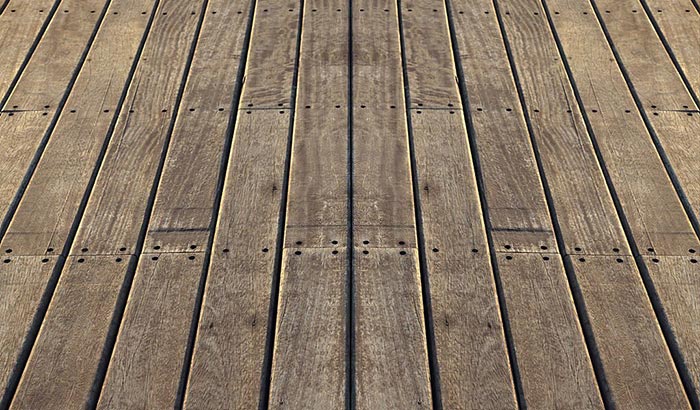
Remove the Hardwood Flooring
To dismantle the old hardwood flooring, you must use the circular saw. Make sure to measure the ideal depth to dip the saw, preferably around 0.6 inches. It is to avoid damaging your boat hull.
Now, cut through the floorboards with the saw. Then, use a pry bar to remove all the boards carefully.
Step 3: Clean the Surface
Once the old flooring is removed, you’ll need to clean the surface before you can install the new one.
Start by sweeping or vacuuming up any dirt or debris that’s left behind. Then, use a damp cloth to wipe down the surface. If there’s any stubborn dirt or grime, you may need a mild cleaner or sandpaper to remove it.
Step 4: Cut the Plywood Boards
You can use the old floor measurements to start cutting the plywoods to fit your boat. Then, mark the spots using a marker after measuring to customize all the boards to the desired size with the saw.
Step 5: Install the New Flooring
As you install hardwood flooring, start by sanding the surface to rough it up. This will help the boards adhere better. Then, apply adhesive to the surface and lay the boards down or use screws to secure them in place.
Step 6: Install the Mat
Now it’s time to install the carpet; make sure you measure the floor and then trim the carpet before installing.
Next, apply a layer of carpet resin or adhesive compatible with wood and the carpet materials. Then, lay the carpet down and trim it to fit. You can use a roller to press the carpet into place and make sure there are no air bubbles.
Step 7: Replace any Trim
Once the new flooring is installed, you’ll need to replace any trim that was removed. Start by measuring the pieces and cutting them to size. Then, use nails or screws to secure them into place.
That’s it! Once the trim is replaced, your new flooring is complete. You can move back everything and enjoy your upgraded boat and feel proud knowing you did it yourself.
Tips for Replacing your Boat Floor
- If you’re using adhesive to install the new flooring, make sure to read the instructions carefully. Different adhesives have different drying times and application methods
- Once the new flooring is installed, be sure to vacuum or sweep it regularly to keep it clean
- If you’re using carpet, be sure to choose a marine-grade variety. This type of carpet is designed to withstand moisture and won’t break down as quickly as regular carpet
- You can use epoxy on the plywood pieces so they can resist water better, thus lasting longer despite elements
Conclusion
Installing fresh flooring in your boat may appear to be a difficult endeavor, but it’s relatively easy to do. The most important thing is to take your time and make sure the surface is clean before you start. Also, picking the right color or quality materials for the flooring and carpets should take you some time.
Once the new flooring is installed, be sure to vacuum or sweep it regularly to keep it clean. Thanks for reading! We hope this article was helpful.