Boats are a necessary part of life on the water. Many people enjoy spending their free time fishing, cruising, or simply floating around on their boats. Changing the oil in a boat is an important task that should be done regularly to ensure the engine runs smoothly.
So, we will walk you through the process step-by-step to make this a hassle-free process.
How to Change The Boat Engine Oil?
Step One: Gather Your Materials
To change the oil in your boat, you will need the following materials:
- Oil – You have to choose the right type of oil, depending on the temperature range that your boat operates
- New Oil Filter
- Petroleum jelly or another marine sealant for sealing filters
- Funnel
- Wrench
- A drain pan to store old oils
Step Two: Prepare the Boat
First, you will want to make sure the boat is on level ground and securely supported. You will also want to warm up the engine for a few minutes to help loosen any debris clinging to the old oil.
Step Three: Remove the Old Oil
Once the engine is warmed up, locate the oil drain plug and remove it with a wrench.
Be prepared for the old oil to come rushing out, so have your drain pan ready. Once the old oil has drained out, replace the drain plug and tighten it securely.
Step Four: Install the New Filter
Now it’s time to install the new oil filter. Follow the manufacturer’s instructions for installing the new filter, making sure to use petroleum jelly or another sealant on the gasket to ensure a tight seal.
Step Five: Add the New Oil
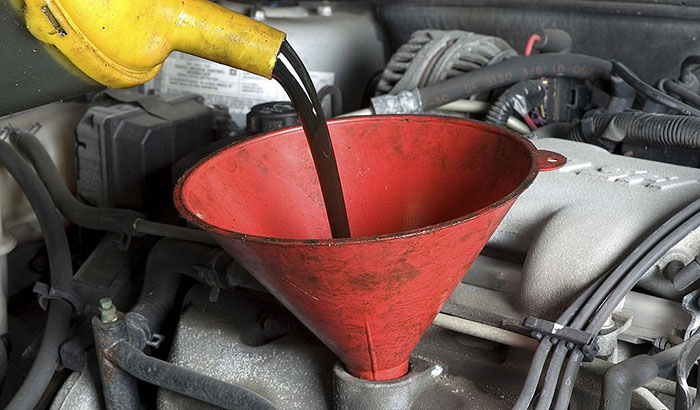
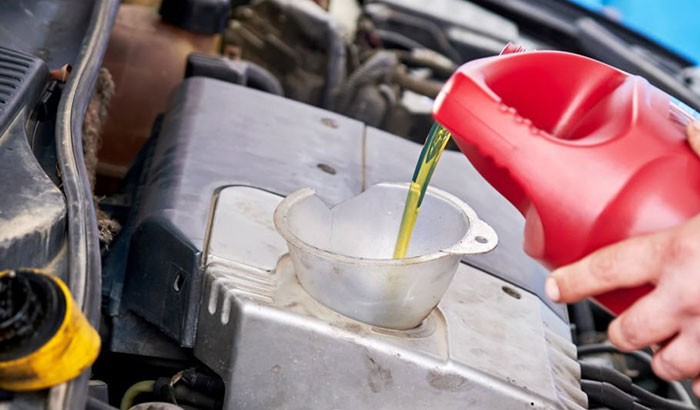
After installing the new filter, it’s time to add the new oil. Pour the oil into your funnel and slowly pour it into the engine, making sure not to overfill.
Once all of the oil has been added, start up the engine and check for leaks.
If everything looks good, replace any covers or panels you removed, and you’re done!.
Frequently Asked Questions
How Often do you Change the Oil in a Boat?
There is no definitive answer to this question, as it depends on various factors, including the type of boat, how often it’s used, and the type of oil used.
However, most experts recommend changing the oil in a boat every six months to a year. This helps ensure that your boat runs smoothly and doesn’t experience any major mechanical problems.
If you’re not sure when you last changed the oil in your boat, it’s good to check it before heading out on your next trip. To do this, remove the oil cap and look at the color of the oil.
- If it’s black or sludgy, then it’s time for a change.
- If it’s light or straw-colored, you’re good to go for a little while longer.
No matter how often you change the oil in your boat, be sure to always use high-quality marine oil. This will help protect your engine from water and other contaminants.
You can find a variety of high-quality marine oils at your local boating store or online.
How Much oil Does a Boat Take?
Depending on their size, boats generally take somewhere between 1 and 5 gallons of oil. Larger boats may require up to 10 gallons.
You can check your boat’s owner’s manual to be sure.
To ensure your boat has enough oil, it’s important to check the level regularly. The oil should be changed every 100 hours or every year, whichever comes first. Be sure to use the type of oil recommended by your boat’s manufacturer.
If you’re not sure how to change your boat’s oil, or if you need to buy some oil, talk to your local mechanic. They’ll be able to help you get set up with the right supplies and show you how to do it yourself.
Conclusion
Changing the oil in your boat is a necessary task that should be done regularly, every six months, or every year to keep your engine running smoothly.
Changing your boat’s oil is a task that most people can easily complete with some basic mechanical knowledge. By following these simple steps, you can change the oil in your boat quickly without creating a mess or wasting any resources.


